Solar Panel Cleaning & Maintenance Kits
 Solar Mounting Structures
 Solar Batteries & Inverter Systems
 Commercial, Residential & Industrial Solar Panels
 Portable & Foldable Solar Panels
 IP Cameras
 HD Analog Camera
 Dash Cameras
 DVR (Digital Video Recorders)
 Integrated Alarm Systems
 AI-Powered Video Analytics
 Cloud Storage Solutions
 Camera Accessories
 NVR (Network Video Recorders)
 Special Cameras
 Video Management Software (VMS)
 Monitoring & Display Equipment
 Ethernet Cables
 Ethernet & PoE Switches
 Network Racks & Accessories
 Network Monitoring Software
 Modem & Routers
 WiFi Routers
 WiFi Controllers & Management Systems
 WiFi Antennas & Signal Boosters
 WiFi Adapters & Dongles
 IoT & Smart WiFi Devices
 WiFi Access Points (APs)
 Fiber Optic Accessories
 Optical Fiber Cables
 Smart Home Appliances
 Smart Home Entertainment
 Smart Hubs & Controllers
 Smart Lighting
 Smart Plugs & Power Management
 Smart Security & Surveillance
 Smart Sensors & Detectors
 Fleet Management & Commercial GPS Solutions
 HDDs & SSDs
 Cloud Storage Services
 Storage Area Network (SAN)
 Removable & Portable Storage
 Network-Attached Storage (NAS)
 Intercom & Video Door Entry Systems
 Electronic & Smart Locks
 Authentication Devices
 Access Control Systems
 Access Control Software & Integration
 Visitor & Time Attendance Management
 Access Control Panels & Controllers
 Electrical Tools & Testing Equipment
 Lighting Solutions
 Industrial Electrical Components
 Power Distribution Products
 Power Supply & Backup Solutions
 Wiring & Cables
 Electrical Conduits & Cable Management
 Cables
 Adaptors
 Extenders
 Computer Accessories
Optimizing Your Hikvision CCTV Network: IP Addressing & Port Forwarding Explained
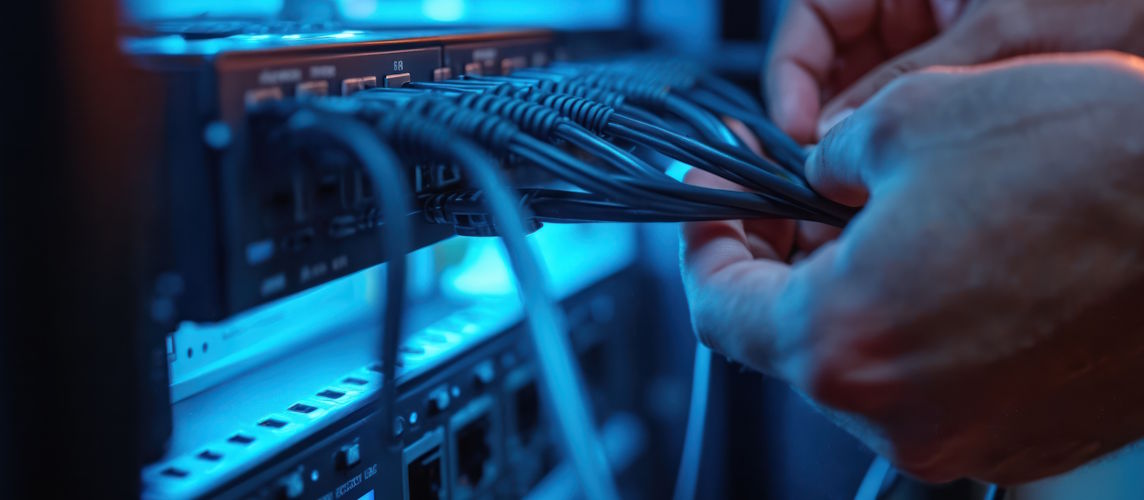
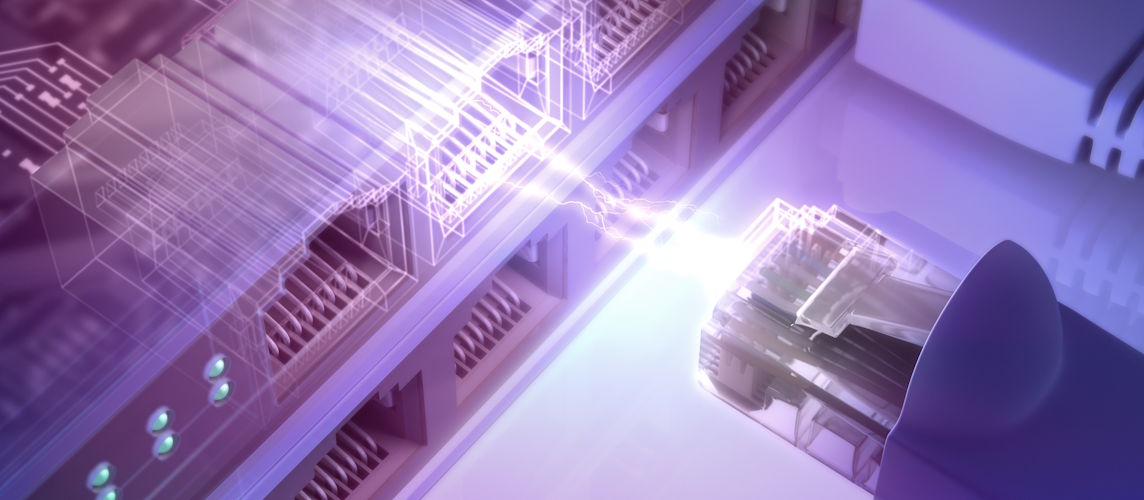
In today's connected world, simply installing CCTV cameras is no longer enough. To get the most out of your system, you need to ensure that it’s optimized for performance, remote access, and long-term reliability. That’s where optimizing your Hikvision CCTV network becomes crucial. Whether you’re managing a few cameras at home or dozens across a commercial site, setting up proper IP addressing and port forwarding can make a big difference.
In this post, we’ll explain how to organize your network, configure IP addresses, and enable port forwarding for smooth, secure remote access — all tailored specifically for Hikvision systems.
Why Network Optimization Matters
Many users install their Hikvision DVR or NVR without thinking about network structure. While the system might work at first, it can become unstable, hard to access remotely, or vulnerable to security threats.
Optimizing your Hikvision CCTV network ensures:
- Stable communication between devices
- Easy remote access via mobile or PC
- Faster video streaming with fewer dropouts
- Enhanced cybersecurity
- Simpler maintenance and troubleshooting
Understanding IP Addressing for Hikvision Devices
Each Hikvision camera, DVR, or NVR must have a unique IP address on your local network. Think of an IP as a home address — it tells your router where to send data.
There are two common ways to assign IPs:
Dynamic IP Address (DHCP)
When enabled, the router assigns an IP address automatically. This is easier for beginners but can cause issues later because IPs might change after a reboot, breaking the connection between the camera and NVR.
Static IP Address
This is the recommended method. You manually assign a fixed IP to each device so it never changes. This guarantees consistency and makes troubleshooting much easier.
How to Assign Static IPs to Hikvision Devices
You can assign static IP addresses in several ways:
A. Using SADP Tool (on your PC)
- Download and install SADP Tool from Hikvision’s official site.
- Run the program and let it scan your network.
- Select the device you want to configure.
- Enter the new IP address (e.g., 192.168.1.101).
- Make sure it doesn’t conflict with any other device.
- Save your changes.
B. From the DVR/NVR Itself
- Connect a monitor and mouse to the DVR/NVR.
- Go to:
Menu > Configuration > Network > General
- Disable DHCP and enter your preferred IP address.
- Use:
- Subnet Mask: 255.255.255.0
- Default Gateway: Usually your router’s IP (e.g., 192.168.1.1)
- Click Apply.
Tip: Use a numbering system for easy organization (e.g., NVR = .100, Camera 1 = .101, Camera 2 = .102).
Enabling Port Forwarding for Remote Access
Once IP addresses are set, the next step is enabling access from outside your local network — whether from your phone, tablet, or office computer. This is done via port forwarding.
What Is Port Forwarding?
Port forwarding allows external devices to access services inside your network. For Hikvision, this means allowing the mobile app or client software to connect to your DVR or NVR via your public IP address.
How to Set Up Port Forwarding (Step-by-Step)
1. Login to Your Router
- Open a browser and go to your router's IP (e.g., http://192.168.1.1).
- Enter your username and password (check label or ISP support if unknown).
2. Find the Port Forwarding Section
- It might be labeled as “Port Forwarding,” “Virtual Server,” or “NAT Settings.”
3. Add New Rules
- You’ll need to forward the following ports:
|
Port Type |
Default Port |
Purpose |
|---|---|---|
|
HTTP Port |
80 |
Web access to DVR |
|
Server Port |
8000 |
Hik-Connect & remote client |
|
RTSP Port |
554 |
Video streaming |
|
HTTPS Port |
443 |
Secure browser access |
Example setup:
- Service Name: Hikvision_DVR
- External Port: 8000
- Internal Port: 8000
- IP Address: 192.168.1.100 (your DVR)
- Protocol: TCP or BOTH
Save each rule after entering the details.
4. Check Public IP
Search “what is my IP” on Google. This is your public IP that you'll use to access the system remotely.
Important: If your IP changes often, ask your ISP for a static IP, or use DDNS (Dynamic DNS) as an alternative.
Test Remote Access
Once port forwarding is done, test it:
- Install Hik-Connect or iVMS-4500 app on your phone.
- Add your DVR using IP address and ports.
- Try accessing from mobile data (not Wi-Fi) to confirm external access works.
If it connects successfully, your port forwarding is working!
Security Tips for Remote Access
Port forwarding opens access to your internal network — so take precautions:
- Always use strong passwords
- Disable default ports if possible (change from 80/8000 to 8081/9000)
- Regularly update firmware
- Enable HTTPS for secure access
- Consider VPN access for an extra layer of protection
Final Thoughts
Optimizing your Hikvision CCTV network isn’t just about performance — it’s about stability, security, and accessibility. With static IP addressing and properly configured port forwarding, you can ensure your system works smoothly both locally and remotely.
From home users to large facilities, a well-configured network makes the difference between a basic setup and a truly professional-grade solution.
f you’d like help setting up or optimizing your Hikvision system in the UAE, contact the experts at TechService.ae — your trusted partner for advanced surveillance solutions.